I've been working on projects in preparation for the new school year. I thought they might serve as inspiration for you elementary teachin', art-lovin', kid parentin', and birthday party plannin' kinda people out there.
But mostly, I'm showing off these creations to satisfy my excessive need to be admired by others.
.
Just kidding. I think.

Both projects began the same way.
.
{I was so caught up in the joy of creation that I forgot to take pictures of the process. These 2 pictures come from THIS website where detailed paper mache instructions are also given.}
.
It's really very simple:
.
1. strips of newspaper
2. flour and water mixture
3. inflated balloons {I used much bigger ones}
Dip the strips of paper into the liquid and strip away any excess goo with fingers. Then, lay them every which way across the entire surface of both balloons.
Allow them to dry overnight before using a pin to pop the balloons inside. The now dry, paper mache shells should remain in the shape of the balloons.
Now, we're ready to talk about each, individual project.
Now, we're ready to talk about each, individual project.

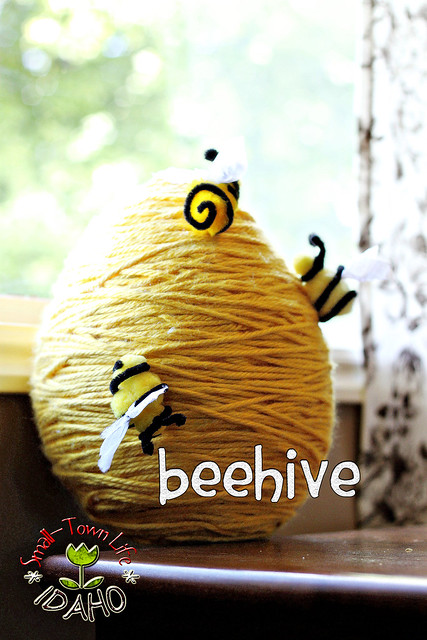
The first project was inspired by the pinata seen HERE. I decided that hanging by the classroom door, it would complement my sunflower/bee-beginning-of-the school-year theme nicely.
.
I took one of the paper mache orbs and painted it yellow. Then, I wrapped thick, yellow yarn around the hive in no particular pattern. Every few times around, I would add a dot of hot glue to ensure it all held together.
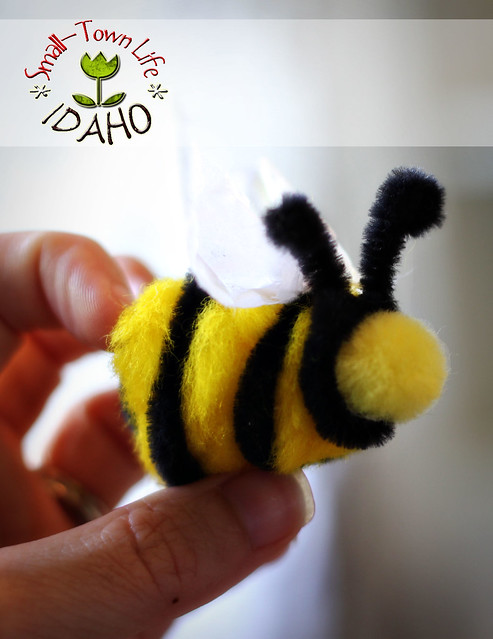
Bees were made from large, yellow poofballs...that's the technical term...wrapped with black pipe cleaner. After tearing tissue paper into the shape I wanted for wings, they were glued on top. Then, the completed bees were arranged and hot-glued to the hive. That's it!
.
I think it turned out sooo cute. If I do say so myself.

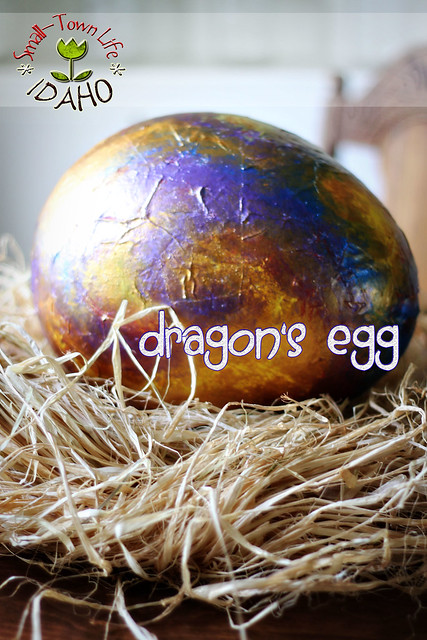
The second project was even easier to make. I just used the second paper mache orb...and paint.
It was inspired by a story my 3rd graders spend a week on as part of their reading curriculum.
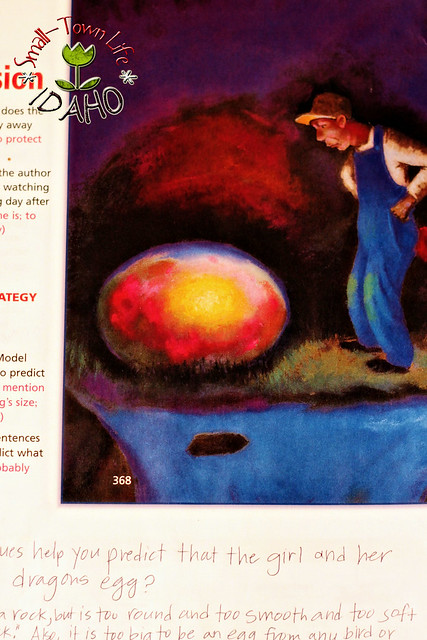
I wanted a way to really bring it to life for the kids. It could even be used to introduce and celebrate the entire unit on Incredible Stories.
.
I can only imagine the kids' reactions to finding this mysterious object on the table. Just think of the discussions, debates, and assigned journal entries to result!
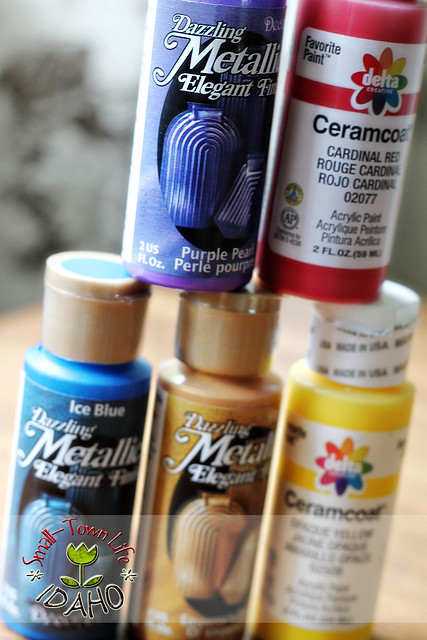
I didn't think regular paint would create the magical effect I was shooting for, so I spent a few dollars on metallic purple, blue, and gold. This made all the difference.
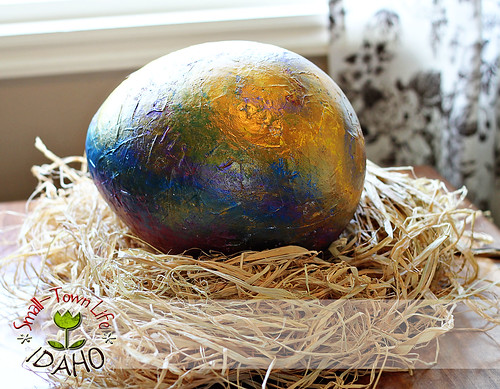
Then it was just a matter of painting large, sparkly swirls. I'm thinking I'll add spray-on glitter later on.
.
I also experimented with a nest of raffia. I'm not exactly sure what a dragon's nest is supposed to look like, but I hoped it would help further the whole giant egg image.
.
I think it would look rather magical to an 8-year-old, don't you?
P.S. I originally found the beehive pinata inspiration on Pinterest. So I am entering it in the Bower Power Pinterest Challenge!


4 comments:
I want to be a third grader in Mrs. Ashmore's class!!! These crafts are awesome! The dragon egg is my favorite! It is the things that are different that stick in a child's memory. (Mayflower Pilgrims are forever burned into my brain thanks to a play we did in the thrid grade.) I am sure an Incredible Stories unit is something I would remember for the rest of my life. I'm serious! You are quite the talented lady and a wonderful, dedicated teacher!
Just found your awesome egg idea on pintrest and I can't wait to put together a dragon unit just to use that project. Thanks oodles for sharing!
I see that this post is from quite a while back but I wanted to let you know it is still being appreciated! I am a Christ-follower, nearly 47 year old mom of a 13-year-old (the youngest) and three grown-ups or nearly grown-ups. (17 to 23) I will pin both the beehive and dragon's egg on the "Celebrations" board AND on my "Grans" board as well. I would like to have lots of good things in mind when grand-babies start coming! Till then, I'm thinking my daughter (almost 21) would love the beehive for a birthday celebration in her first apartment shared with a fellow college-career gal-pal! Thank you much!
Hi Rachel-
This post is such a 2 for 1 deal. Paper mache lends itself to so many creations...Your classroom must really be an inspiring place...
We featured your beehive portion of this post at our insect unit and craft roundup.
Hope you have a lovely week!
Nicolette & Karen
editors of The Classroom Creative.
Post a Comment