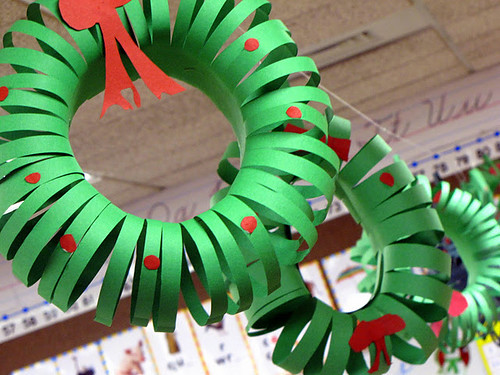
I was shocked to see my blogger stats the last few days skyrocket with over 70,000 hits to THIS post alone (about paper wreaths of all things). I figured that if that many people are interested in such a thing, I might as well provide guidance on how to make them. Maybe it will help to ease the stream of e-mailed inquiries I've been getting.
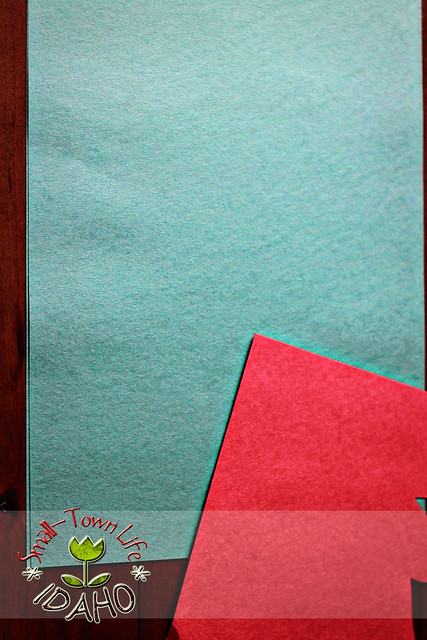
You need:
.
1.) one 9''x18'' sheet of green construction paper
2.) scrap paper of any color you'd like for bows, berries, etc.
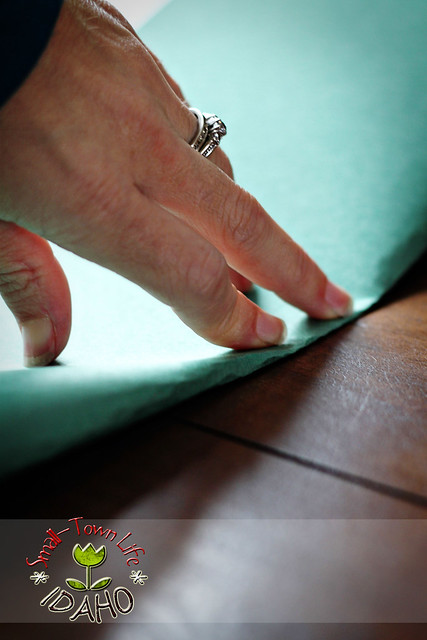
First, take the green paper and fold it in half...

...hot-dog style, like this.

Draw a line along the length that is open...NOT the side where the crease is...about 1-2 inches away from the edge. This marks your "NO CUTTING ZONE" for later.
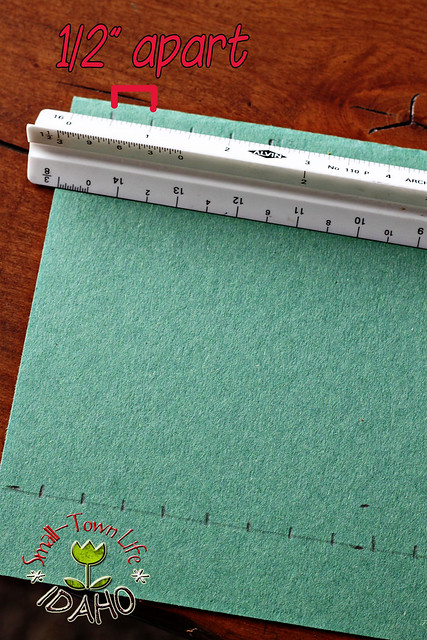
Then, draw tic marks every half-inch along the top and the bottom. You can make these marks one-inch apart for younger kids, but the narrower they are, the "lacier" your wreath will turn out in the end.
I always tie this project in with the math lesson we have each December on measuring to the nearest half-inch.
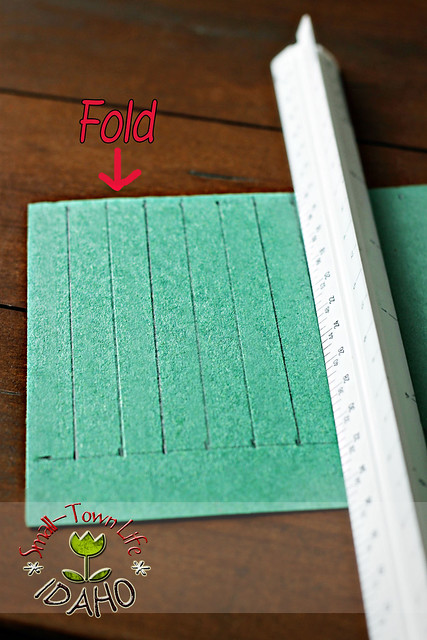
Next, connect those tic marks with your ruler to make straight cutting lines. Notice my lines stop at the first line we drew earlier.
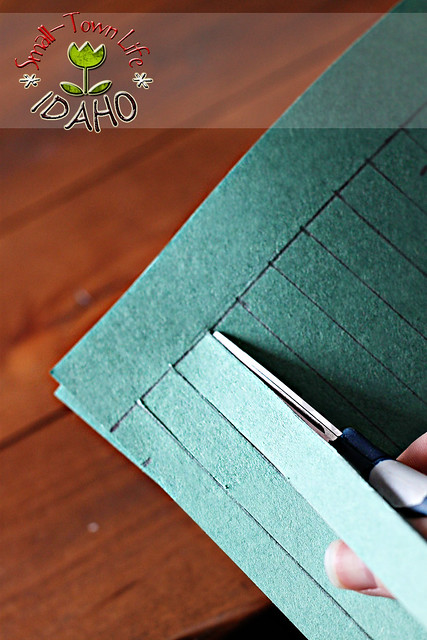
Then, cut along each line you drew, being careful not to go too far!
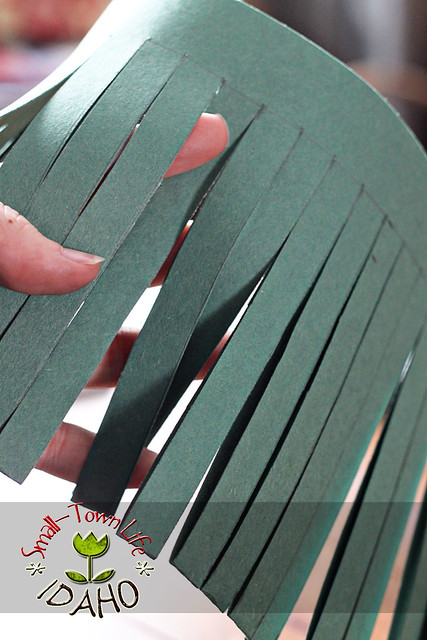
It will look like this when you've finished cutting.
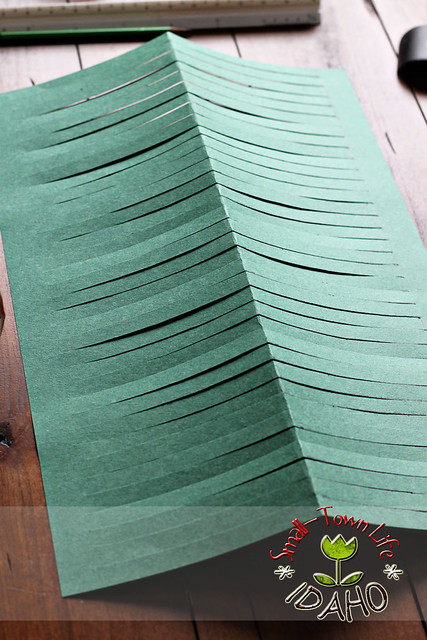
Now, open it up...

...And roll it in the opposite direction that the crease was folded to make a tube-like shape. It helps to have a second pair of hands for this step.
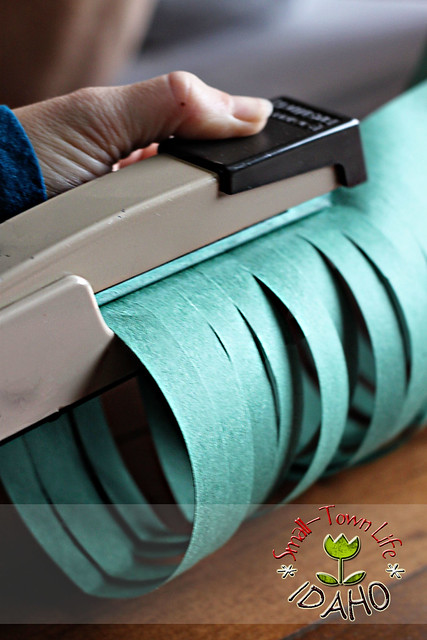
I have the student hold one end together while I put staples in other side every couple of inches...as far in as my stapler will reach. Then we trade sides and I staple the other end the same way.
I've found it just works better to have adults do the stapling part. Kids will only bunch it up, rip the "rings," and get frustrated. I always have a few teacher's aids on hand for this project.
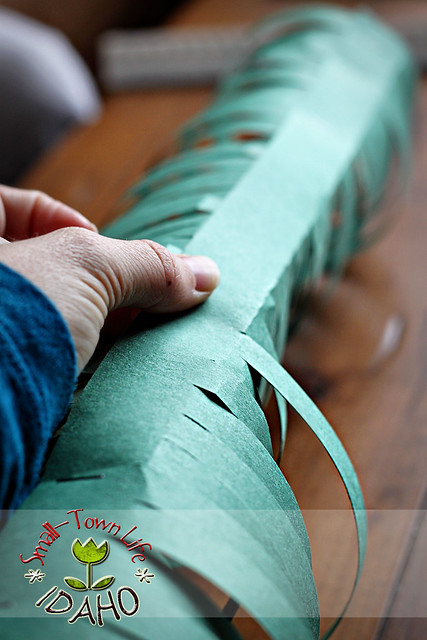
I've also found that creasing the section that isn't cut, on either side a little bit helps to shape it for the next step.
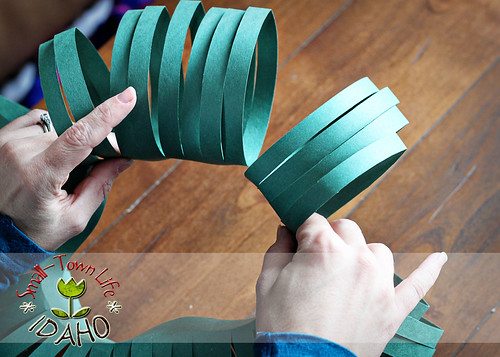
Now, join both ends of the "tube" you just made to create the wreath shape...
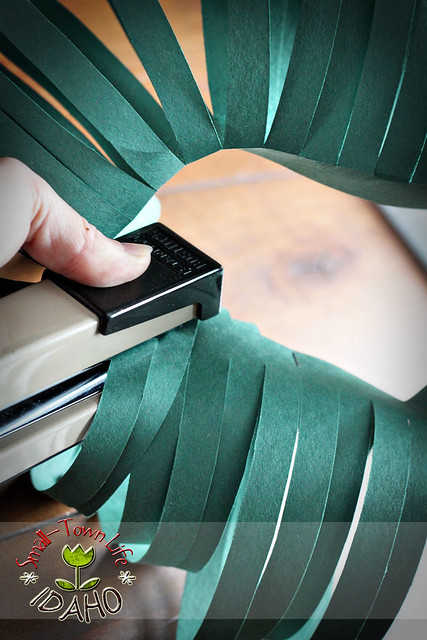
...and staple the ends together. At this point, you may need to finagle the stapler in through the "rings" to fix any bulges in the middle. After this, it should look like a wreath.
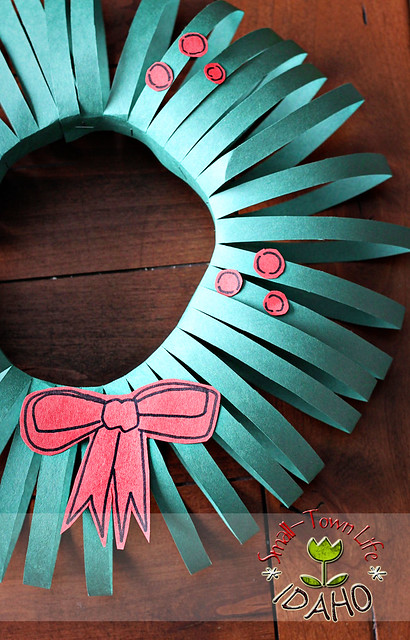
While students are waiting for an adult to help them with the stapler, they work on cutting out bows and berries. I've even had creative kids add pine cones and squirrels. I let the kids draw their own embellishments free-hand to allow for some individuality. If it's easier for you, copy off some clip-art bows for them to cut and paste instead.
Hang the final product in a window, on a door, or make a garland of them across the classroom ceiling.
Let me know if you have further questions. Become a follower to stay updated on future kids' crafts, activities, and other classroom helps. Enjoy your holidays!

48 comments:
I was astounded to see this picture on Pinterest and followed its link to your blog. I learned this craft from my cooperating teacher over 20 years ago when I was student teaching. I've been making them faithfully with my classes ever since. Only difference--we glue it together as opposed to stapling. The stapling looks so much easier so I think I'll try that this year. Thanks!
What a cute idea!
Postado com seu crédito!
I LOVE glue dots for projects like this !!! They are easy to make too. Use Alenes Tack it Over and Over glue.
Beautfiul! Do you think this will be a good craft for a Kinder class? What age do you usually do this craft with?
I do this with third grade. Quite honestly, I would be hesitant to do this with a whole class of kinders at once. It might be reeeaally stressful for you. :)
Love this idea!! I shared it on my blog, thanks for the fun craft!
http://littlemrsliz.com/diy-3-cake-plate-possible-christmas-gift/
this is fab, thank you for the tutorial and sharing such a great idea
Great tutorial. If you want to save time and the paper you're using will stand up to a copy machine, you could print the cut lines right on to the paper. Then the kids wouldn't have to measure out the lines every time.
Thanks!
Hi!! I love this idea (found you on Pinterest). I'll be doing it with my kids this weekend. Thanks so much. I've shared it on my blog Facebook page too (http://www.facebook.com/MyMummyDaze). I love your blog!!
Fi xx
kind of a twist on the good old paper lantern :) Love it, we'll be making these next week for sure!
I love this - pinning it! And adding it to my list of crafts for when the kids are out of school this week.
I remember making these with the kids when I was a student teacher. I have completely forgotten how, and wanted to show my nephew, so thanks you so much for this tutorial!!
Oh my gosh, I made these when I was younger and have completely forgotten about them. Thank you so much for sharing, my kids will love making these!
I wanted to let you know that I featured this on my "What I Bookmarked This Week" post today. Stop by and see!
THIS. IS. AWESOME!!
I made these as a child and I have continued to make them with my students!! Love it!!!
LOVE THE IDEA. THIS IS SO EASY AND SO CUTE.
This is sooo cute. My5 year old and I made a construction paper fireplace n needed a wreath . THIS IS PERFECT!!!
such a cute wreath. i am writing a series of posts for an Advent Countdown. i am including and linking back to your idea in one of the posts. i wanted to ask permission to use one of your photos from this post as well. i will give you credit and link back to you for readers to get instructions. please email me at getdownandgetyourhandsdirty at gmail dot com.
Wonderful! My second grade class loved this craft and they look very festive in the classroom! Thank you :)
Hi Rachel!
I was wondering if we could use your wonderful wreath post in our kids crafted wreaths round up? Can't wait to here from you- Karen
This is awesome!! We'll be making them this week!! I hope you'll share it at my new Preschool Christmas Party linky (http://preschoolpowolpackets.blogspot.com/2012/12/christmas-party-linky.html)!
I remember making these as a child. Thank you so much for the post! Purchasing green construction paper today to make these.☺
This was a great project for my year one class. We made lanterns early in the year, so this was a variation on that craft. We found it easiest to use pieces of sticky tape to secure as we went (gotta tame that tube!). The children were thrilled with their wreaths! Thank you.
I remember making one of these when I was in elementary school and I am excited to try it with my 3rd graders this year.
this is such a great idea to do for my sons project
WOW!!!
It's amaizing idea !
This is a great idea.
This is such a great idea!
I will have to try it!
I love this idea!! I kept seeing it on Pinterest, but with no link to a tutorial...thanks for sharing:)
I only have the regular sized paper...hopefully it will work with that?
Great idea!!!
Thanks so much for Sharing!!
Going to make this as a visual for my Special Needs Sunday school class. Love it thanks so much.
Mary Jo - Arizona
Great idea!I'm making one of these with my kids at home. thank you!
No I dont sorry
Proste, pomysłowe, świetne! Będziemy robić:) Dzięki!
Cool. Love the idea
Cool idea. Love it
Will be doing the project with my students today!!! Love it!
Will be doing the project with my students today!!! Love it!
Ive seen the picture on pinterest and looked at it many times, even tried it on my own..but thanks to your tutorial, it was the only way I could really understand it!!! Duhhh!
Anyways, I love it and Im trying it out tommorrow! at school.
Thanks for the FUN activities! I own a very tiny daycare and my kiddos love doing "projects", lapbooks and "preschool stuff".
I don't have internet at home so I save the best I can find on my flashdrive and the kids browse through and find activities they want to work on. I know yours are going to be high on their list!
Tina 'the book lady'
http://familyliteracy2.blogspot.com
I'll be back!
you are telling me to have it hot dog stile but it looks like you put it half ways ,and the marks on it are making no sense
This craft was a hit!!! We did an event where many booths had arts and crafts of different sorts, but so many were impressed by this one. Thank you much for sharing!!!
As a pre-teen I agree stapling the paper into a tube was hard as stated, yet the results were impressive, and this was a great, last minute Christmas decoration for my class form room. Thanks, it looks great! (If I do say so myself) Everyone is sure to love it!
thank you for pointing that out! that makes my life so much easier
Can you make it with regular sized paper?
I am currently making these for my residents next year and they are a great idea for RA's too :) thank you!
Post a Comment