
Wow. It feels like forever since I blogged. Sorry about the long absence, but moving has been--and continues to be--a crazy, all consuming task. I know I owe you a tour, but everything is still a wreck! And posting a tour seems like such a long, daunting task right now. I think I need to ease my way back into this blogging thing.
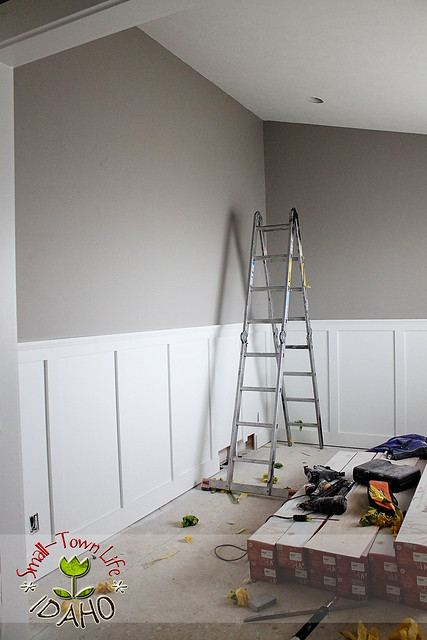
So, here's a tutorial on the board and batten wainscoting...using old pictures already edited on my computer.
We always loved this look, but felt it was more costly than we wanted for all that extra wood. Then we found a cheaper way that requires a lot less, but looks just as nice.
We installed it in the front room, entryway, and the master bedroom. I'll use the front room to demonstrate the process.
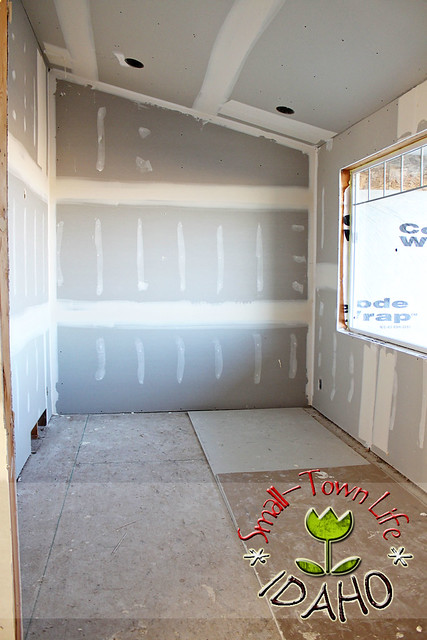
Here is the sitting room with bare drywall and mud. If you notice, there is no texture yet.

When we did apply the texture, we only hit the areas of the walls above where the wainscot would be. The bottom section was left smooth. This would create a contrast between the two and mimic the look of flat wood panels (after being painted).

1.) Using a nail gun, 1x6 baseboards were installed along the bottom of the walls.
2.) Next, 1x4 battens were set vertically on top of the baseboards and nailed into place about 20 inches apart.
3.) 1x4's were then attached in a horizontal line above, parallel to the baseboards to build shadow boxes.
4.) The shadow boxes were capped with 1x2's that created a shelf-like look at the top.
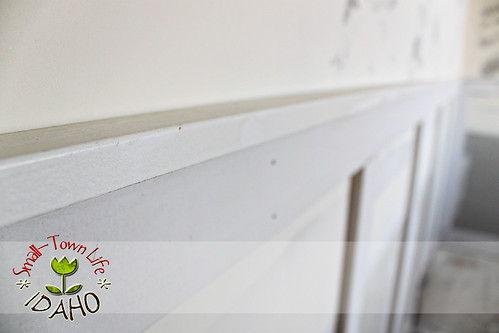
Here is a closer look at the 1x2 wood at the top.

Finally, a piece of decorative molding was installed just below the "shelf" of 1x2's with a pin nailer.
.
Then there came the exhilarating (not!) task of filling in every blasted nail hole with putty, sanding them down, and caulking every blasted seam in prep for paint.
.
My only advice at this point is to enlist every family member, friend, neighbor, pool guy, mail man, etc., you can find to help with this. If you have as much trim as we do, you'll be glad you did.
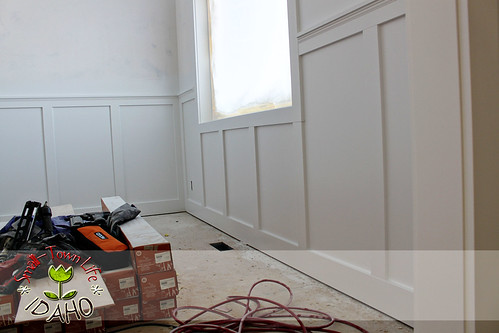
Using a sprayer, semi-gloss white paint completely transformed the look. Even without using any flat paneling, the wall in each shadow box appeared smooth and seamless with the battens.
I wish I had a picture of Andrew when he was finished with this. White brows and lashes just aren't his best look.

If I didn't witness the process myself, I never would have assumed the bottom section was actually the wall rather than wood.
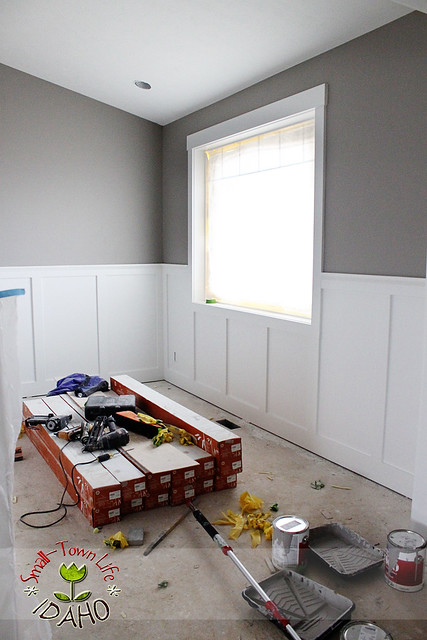
I love the finished, contrast-y look of the painted, textured wall above the clean, white glossiness.

Not using the real wood paneling saved us an estimated $800-$1,000 through the entire house.
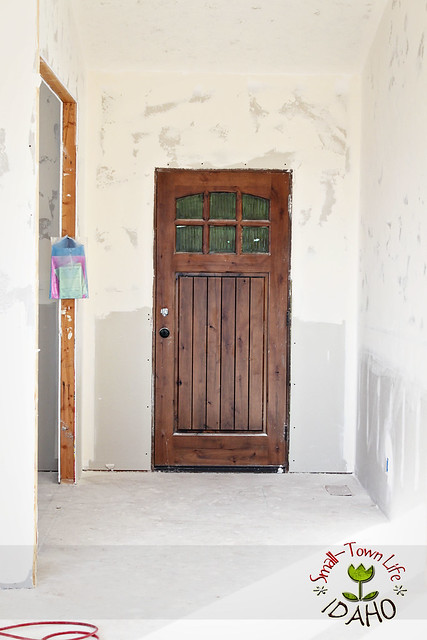
Just for fun, here's a before of the entryway...
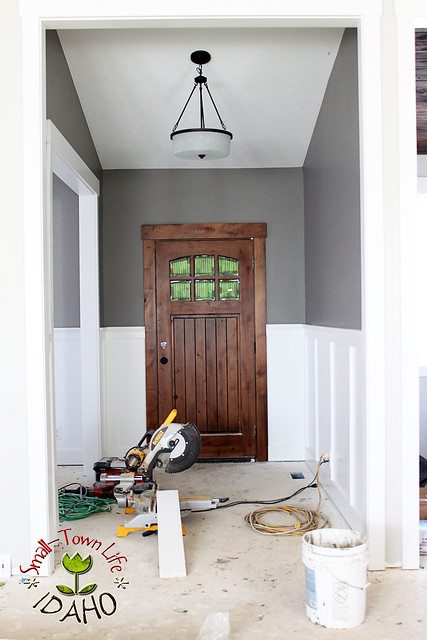
...and an after!
You should see it now with the wood floors! Aghhh...and you will! Soon!
Until then,
Rachel
P.S. I was featured by Remodelaholic for this post! I am also linking up here.


17 comments:
this is just so beautiful, your house look so perfect!
I just love it! I just pinned a similar light fixture for my entry way last night. I LOVE your front door!
Looks great! I plan on putting up some B&B in our powder room using this same methodology. I appreciate you sharing the specific sizes of wood you used - very helpful! Thanks! I have previously installed some molding boxes in our hallway using a similar technique. You can see it here, if you're so inclined: http://racksandmooby.blogspot.com/2011/07/boxes-on-our-walls-part-4-assembling.html
Thanks again for the great tips! I've pinned! :)
This is beautiful, simply beautiful!
I found you through Remodelaholic and left a comment there but wanted to leave one here also. I'm now a happy follwer:)
Thanks so much for the tutorial. I am thinking about doing this in my hallway. It looks so great in your house!! Love the wall color too!
Rachel...your photography is great too! Following you.
I love what you did ... and the door is amazing too!
Hugs,
Bj
I love the color you used in your sitting room. Can you please tell me what color you used?
I love the color of your sitting room. Can you please tell me the color you used?
LOVE this look! Is there a rule about how high the panelling should be in a room?
Did you ever post what color the grey was? I would really appreciate it!
Hi I would also like to know the paint and colour used please
MY name is Margie. I just found your blog. I love your style. I was wondering if you could tell me where you got your door. I am looking for a new front door and I love yours!!!
Sorry if you get my comment twice. I am not sure what my computer is doing but I just found your blog and was wondering if you could tell me where you got your door?? I love your style! Your house looks so good!!!!
What type of wood did you use? mdf? pine?
I love what you did! What type of wood did you use? mdf? pine?
Post a Comment