
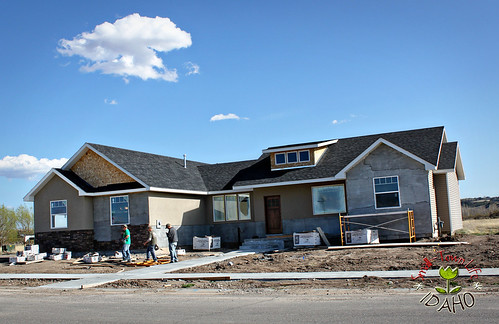
Last I showed you (in early May?), the house had only a small amount of stone completed and the OSB sheeting was still visible on the dormer and gable.

This is what it looks like as of today: with finished stone, stained vertical cedar siding, and blinds. It's not finished yet. But almost!
For the gable and dormer, we kicked around ideas of shake, stucco, or vertical vinyl siding.
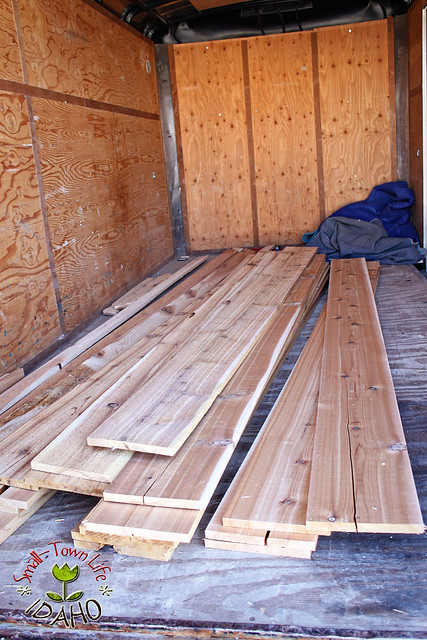
In the end, Andrew found a guy to sell us cedar between 25-95 cents a linear foot, depending on the width. This price is 1/3 of what most people sell the stuff for. So we pounced. All in all, it cost us around $200.
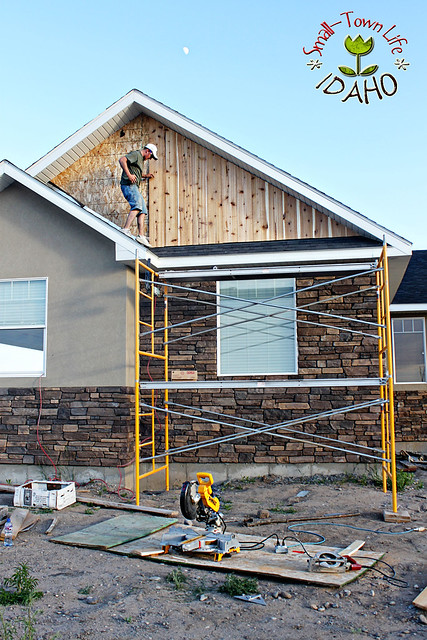
First, Andrew nailed the 1x10 cedar pieces across the entire front.
Then, he added the 1x4's along the outside edge and the 1x2's along the seams to create a genuine board and batten.
In this picture, you can see he's taped the gable off in preparation for staining.
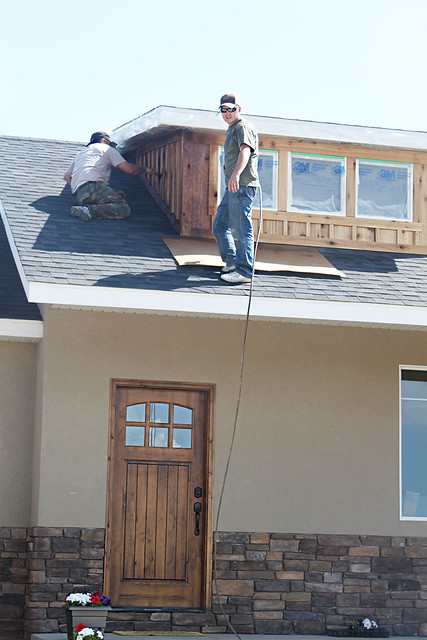
Cedar stains really dark, so it took us awhile to find a stain that dried close to the color of our front door. Here are Andrew and Josh applying it to the dormer with a spray gun and brush. You can see the contrast between the raw wood and what has already been stained.
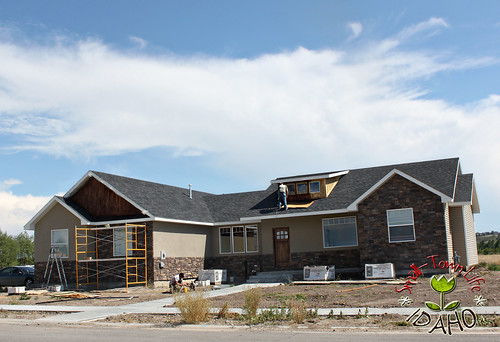
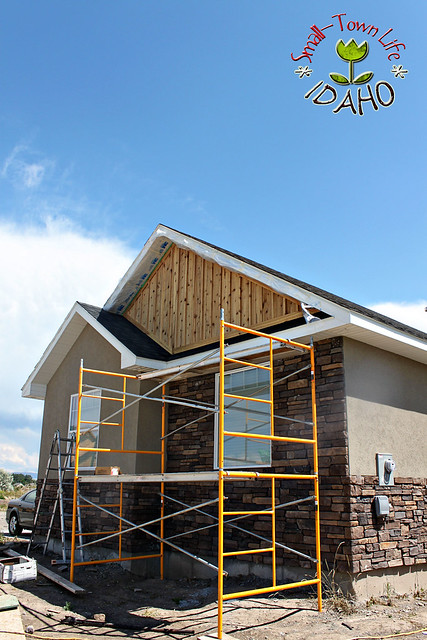
The same, but from the street...

When they finished, we all stood back and looked at it in silence. Holy Hannah, was it DaRk!
But then, in no time at all, the stain sank into the wood, dried, and lightened to the perfect color. I was so relieved.
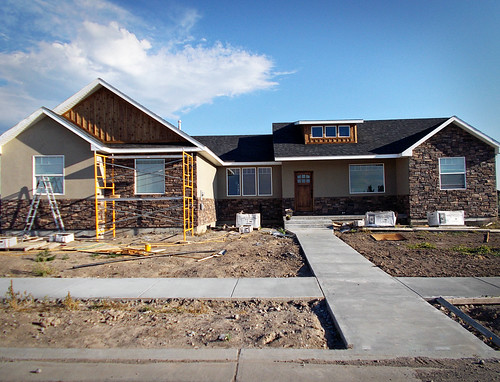
From the front...
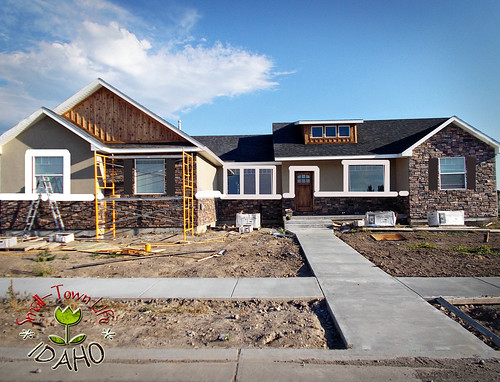
All that is left now, is the white trim and shutters. I drew them in to help you visualize.
I'm so thoughtful.
And in case you care, here is what the vinyl on the sides and back of the house looks like. The stucco guys did a great job of matching the colors to it.
So there you have it. The outside. Next up, I plan to walk you through the inside...despite all of the unfinished details and unpacked boxes. I decided if I wait until it's perfect, you'll never get to see the interior! And I could really use your advice on decorating in here!
Ta-ta for now,
Rachel
3 comments:
Wow, love the stained wood. So pretty!
WOw!! It's gorgeous! How nice it must be to have a hubby who can build you such a beautiful castle!! :-)
BEAUTIFULL!!!
Post a Comment