
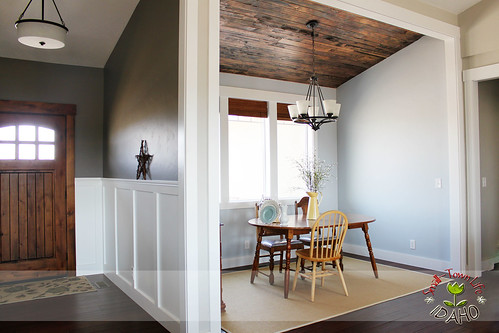
We've seen the entry/front room and the great room. Let's continue through to the dining area.
I know that people usually photograph their dining rooms with candles and table settings carefully laid out....but I'm not even near that point in here yet. This room still needs a lot of work, and you're gonna have to get it as it is.

This was a long time ago.

We eventually settled on Sherwin William's North Star paint.
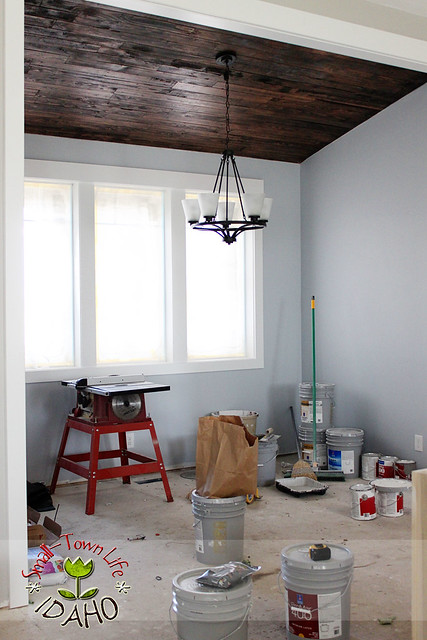
The pallet ceiling is going to have entire posts dedicated to it in the future...
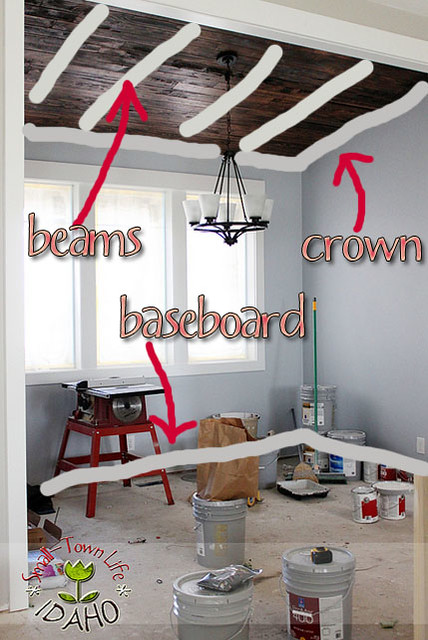
We are still working on it. My lovely scribbles illustrate what will soon be added to finish the ceiling off.
(Did I mention this ceiling was FREE to build?)
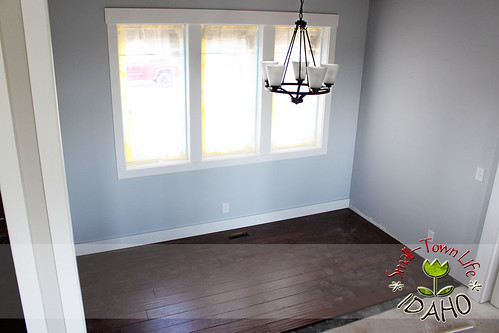
Here, are the beginnings of the wood floor and baseboards...

...And the room with our furniture and new IKEA rug.
But actually, that table is not even ours. A friend is loaning it until Andrew can build a new one. (You may remember the bed, nightstands, and coffee table he's already built.)
The table in our previous home fit approximately two and a half people around it. We decided it's time for an upgrade.

Behold, our table construction inspiration. I love the colors on this one...but not the ornate froofiness of the legs.

{source}
I prefer straighter lines. But chunkier than this.

{source}
Benches would be easier to build than chairs, but I'm concerned they'd get uncomfortable.
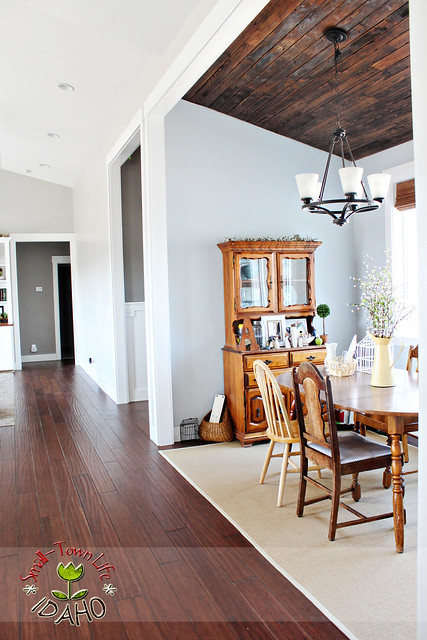
Now the heirloom hutch came from Andrew's family. Please excuse the clutter. It is where the possible decor items for this room have gathered until they have homes or get donated.
You get to see this room as it is, remember?
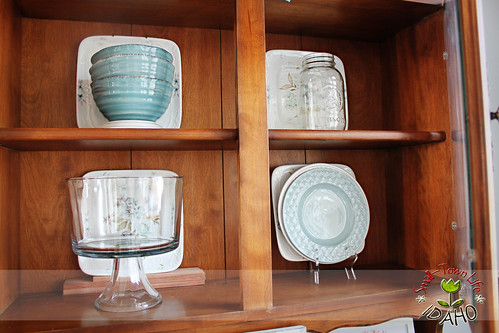
This is how I've decorated inside the cabinets. I'm thinking that in the future...a long time from now...maybe refinishing the hutch. At this point, the thought just makes me feel tired.
But the inside of the cabinet is so dark, and in the meantime, I want the contents to pop out more than they do.

{source}
So I was thinking of applying what I've seen with fabric, wall paper, or vinyl designs like this on the backs of shelves or cabinets.

{source}
It could be the non-permanent, cheap, easy upgrade I'm looking for...though I haven't made any decisions on color or design yet. 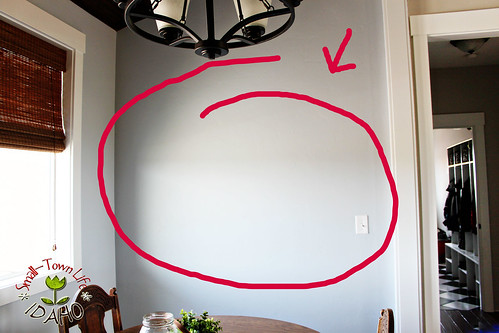
As for the opposite wall, I have other plans.

{source}
I want (Andrew) to build two shelves like this...but again, chunkier and with cleaner lines. 
{source}
I'm sure many of you have heard of the House of Smiths blog. They have these shelves in their home that they can easily style to match the season. I like that flexibility.

I love Shelley's decorating style. It is how I want to decorate when I grow up...
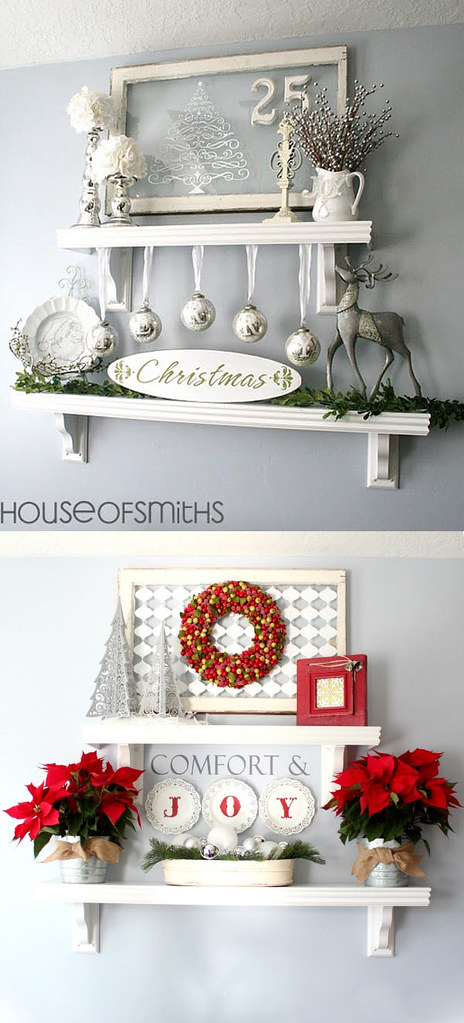
I couldn't not share a few of her lovely displays.
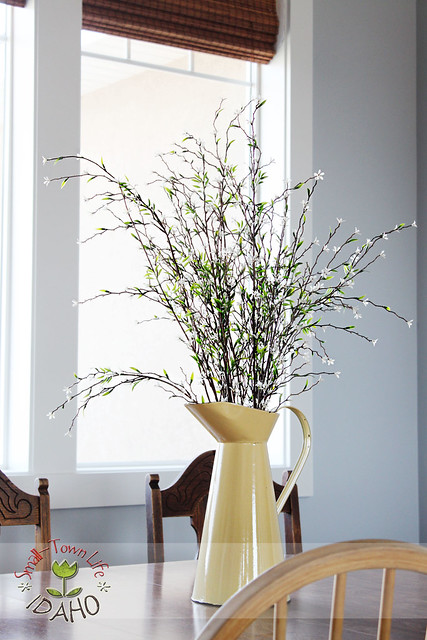
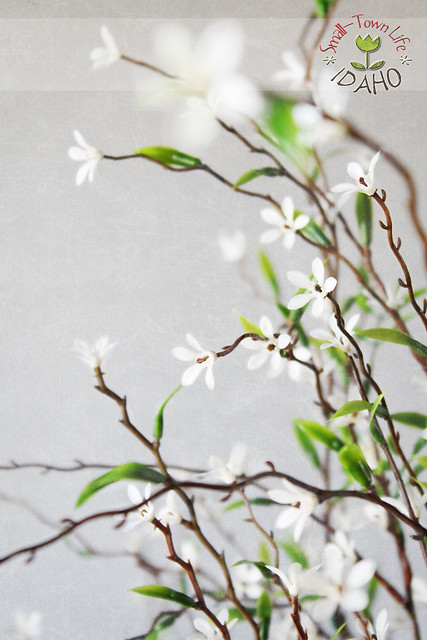
So far, the only decoration I've finished in this room is this.
Using left over sand from our concrete counters, I filled the pitcher 1/3 of the way. Then I stuck in my flower sprigs. The sand allows them to stand up tall in the shape I want.
Maybe one day, I'll spray paint the pitcher a different color, but it'll do for now.
There you have it. Stay tuned for the next room in our tour!
2 comments:
Your home is amazing! Thanks for sharing along the way, it really is fabulous!
What's the paint colour in your entry? Must have :)
Erica
My husband and I are dying to know more about the dining room ceiling! Can you give me some info on it? Also, where did you get your front door? We are building a house, too, and have very similar tastes to you!
Post a Comment